
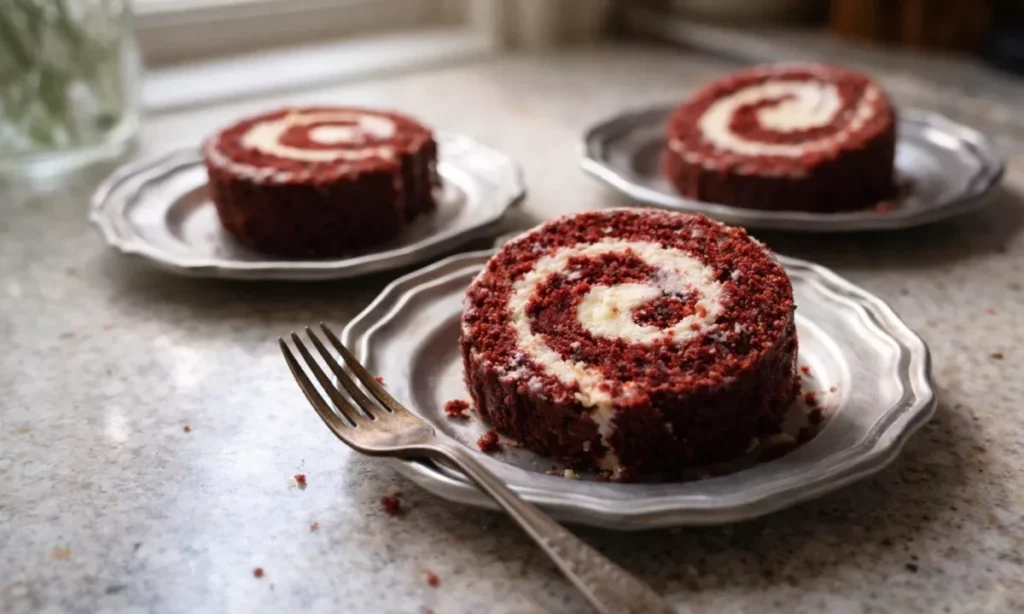
There’s something about a cake roll that feels special—that spiral of cake and frosting when you slice it, the way it looks on a plate. Red velvet cake roll takes that appeal and adds the richness of cocoa and that striking crimson color. The best part? It’s not as complicated as it looks. Once you understand the rolling technique and timing, you’ll find yourself making this dessert again and again.
What Makes This Red Velvet Cake Roll Different
Red velvet is a thin, delicate cake that needs careful handling, but that’s exactly what makes it perfect for rolling. The cocoa powder gives it depth without making it heavy, while the vinegar and buttermilk create a tender crumb. The key is beating the eggs until they’re light and fluffy—this gives the cake its airy structure so it won’t crack when you roll it.
The cream cheese frosting is tangy and rich, balancing the sweetness of the cake. Unlike some frostings that can be grainy or stiff, this one stays smooth and spreadable, making it forgiving to work with.
How to Prepare Your Pan for Success
The parchment paper and nonstick spray matter more than you might think. The cake needs to release cleanly so you can roll it while it’s still warm. A cool cake will crack. Line your 10-inch by 15-inch pan, then spray the parchment too. This double layer of protection ensures the cake slides right off.
More from the kitchen: This Cranberry Pecan Frangipane Tart Looks Fancy But Comes Together Faster Than You’d Think.
The Rolling Technique That Actually Works
Here’s where timing is everything. The moment the cake comes out of the oven, you need to be ready. Lay your kitchen towel flat and sprinkle it generously with confectioners’ sugar. Immediately invert the hot cake onto the towel and peel off the parchment paper. Then roll it slowly and gently from the narrow end, using the towel as your guide. The warmth of the cake makes it flexible enough to roll without cracking.
Once rolled, let it cool completely in the towel. This sets the shape. Many people refrigerate for 2 hours to speed this up, which also firms the cake so it’s easier to unroll and frost without tearing.
It pairs beautifully with pumpkin chocolate chip.
Building the Frosting Layer
Cold cream cheese and butter beat more smoothly than room-temperature ones might seem to suggest, but they do need those few minutes of beating to become completely creamy. This prevents lumps in your frosting. When you unroll the cake, spread the frosting evenly but leave about a half-inch border—this prevents frosting from squishing out everywhere when you roll it back up.
Small Details That Prevent Common Problems
The white vinegar in the batter isn’t just for flavor—it reacts with the baking soda-like effect of the baking powder and helps the red food coloring stay vibrant. Without it, the color can shift toward brown. Use liquid food coloring rather than gel, as gel can make the batter too thick.
For another idea to try next, see This Easy Pumpkin Cake Recipe Is Moist, Tender, and Ready in Under an Hour.
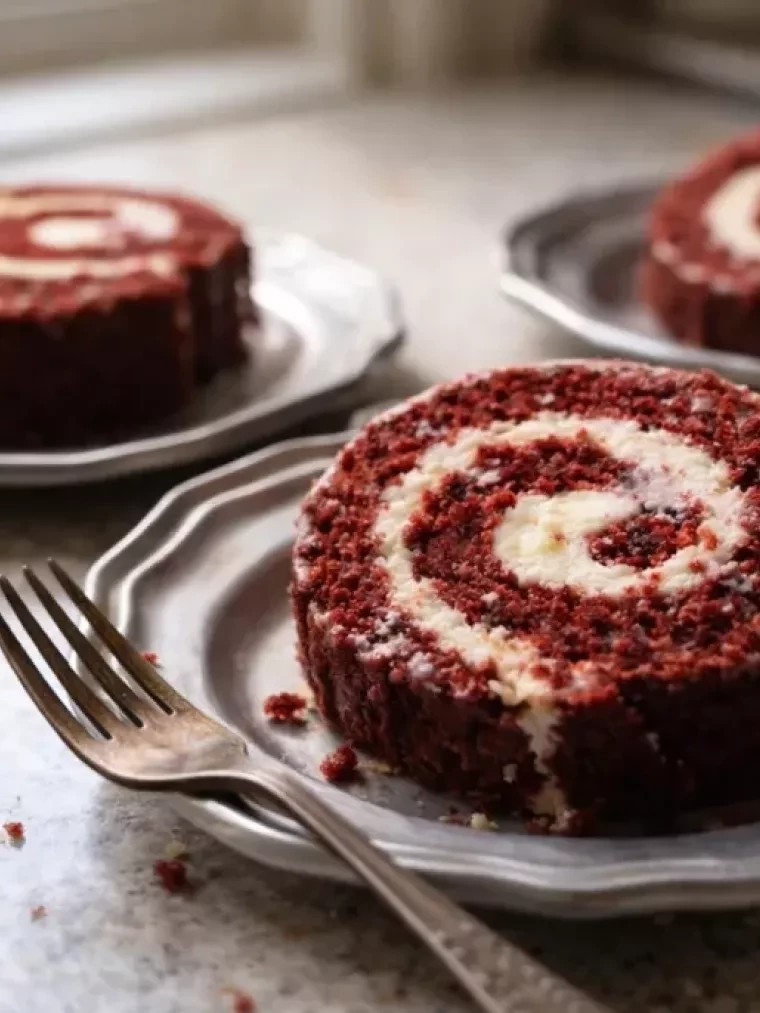
When you unroll the cooled cake, do it slowly and gently. A cake that’s been refrigerated will be firm but still delicate. If it starts to crack, stop and let it warm up for a few more minutes on the counter. The warmth makes it more pliable.
For slicing, use a sharp serrated knife and wipe it clean between cuts. This keeps each slice looking neat instead of smudged with frosting.
Looking for more? Don’t miss our This Cranberry Vanilla Coffee Cake Stays Moist for Days.
How Long It Keeps and How to Serve It
After frosting and rolling, refrigerate for at least 20 minutes before slicing. This firms everything up so the slices hold their shape. You can make it a full day ahead, which is helpful for entertaining. Store it covered with plastic wrap in the refrigerator. According to safe food storage guidance, cream cheese-based desserts should be kept refrigerated and consumed within 3 to 4 days.
Serve it cold or let slices sit at room temperature for 15 minutes for a softer texture. A light dusting of confectioners’ sugar on top looks beautiful and adds a touch of sweetness to each bite.
If you enjoy this, you’ll love our This Fall Favorites Recipe Tastes Better Than Bakery-Bought.
What to Serve Alongside
Red velvet cake roll pairs well with strong coffee, hot tea, or a cold glass of milk. For entertaining, serve it with fresh whipped cream on the side—not everyone wants it, but those who do will appreciate the option. It’s also lovely with fresh raspberries or a small scoop of vanilla ice cream.
Mistakes That Can Happen and How to Avoid Them
Not beating the eggs long enough results in a denser cake that doesn’t roll as smoothly. Set a timer for the full 5 minutes. Overbaking, even by a minute or two, makes the cake dry and prone to cracking. Check it at 16 minutes—it should spring back when you poke it gently. Waiting too long to roll the cake is the biggest mistake. If it cools in the pan, it will crack when you try to roll it. Have your towel and sugar ready before the cake comes out of the oven.
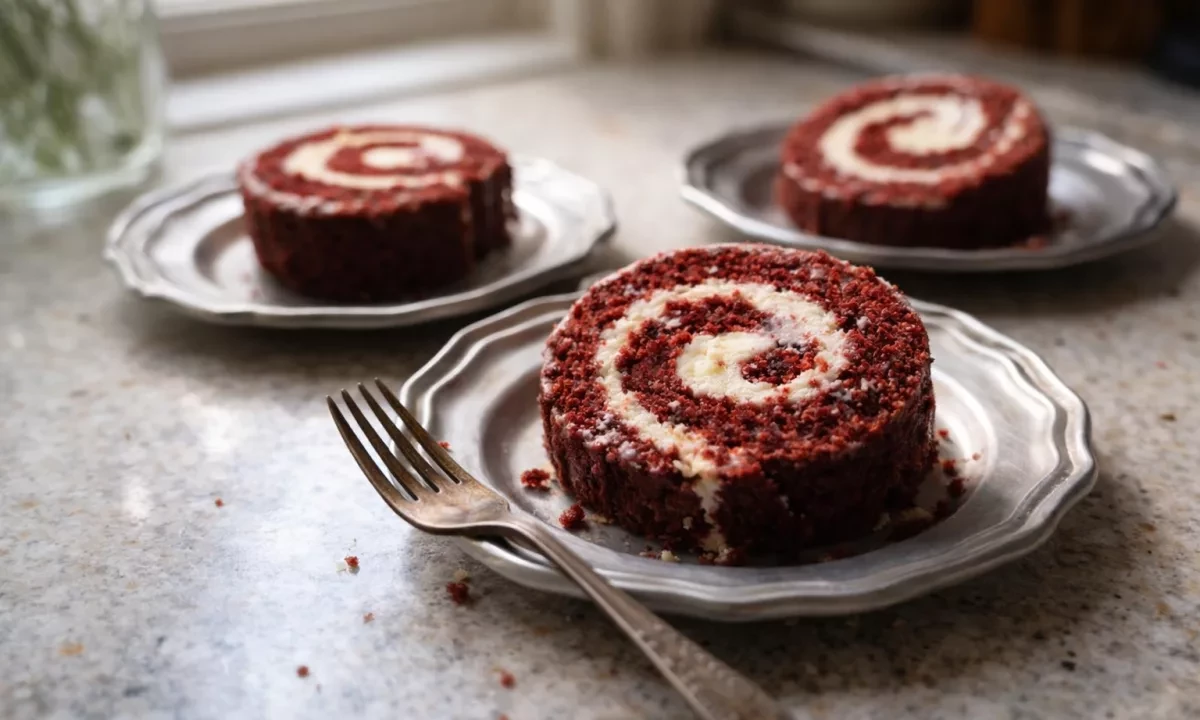
Red Velvet Cake Roll
A showstopping red velvet cake roll with cream cheese frosting. The delicate cocoa cake rolls beautifully when warm, then gets filled with tangy frosting for an impressive dessert that looks bakery-quality.
10
servings25
minutes17
minutesIngredients
1 cup minus 1 Tablespoon (118g) all-purpose flour (spooned & leveled), see note*
3 Tablespoons (15g) unsweetened natural cocoa powder
1 teaspoon baking powder
1/2 teaspoon salt
4 large eggs, room temperature
1/2 cup (100g) granulated sugar
1/4 cup (50g) packed light brown sugar
2 Tablespoons (30ml) canola or vegetable oil
2 Tablespoons (30ml) buttermilk
1 teaspoon white vinegar (helps the red color stand out)
1 Tablespoon liquid red food coloring*
2 teaspoons pure vanilla extract
for rolling: 1 cup (120g) confectioners’ sugar
6 ounces (170g) full-fat brick cream cheese, softened to room temperature
1/4 cup (4 Tbsp; 56g) unsalted butter, softened to room temperature
1 and 3/4 cups (210g) confectioners’ sugar
1 teaspoon pure vanilla extract
Directions
- Read the instructions through before beginning. Make sure you are prepared for step 7 immediately when that cake comes out!
- Preheat oven to 350°F (177°C). Spray a 10×15-inch baking pan with nonstick spray or grease with butter, so the parchment paper sticks. Then line it with parchment paper so the cake seamlessly releases in
- Spray or grease the parchment paper too. We want an extremely nonstick surface for this cake roll.
- Sift the flour, cocoa powder, baking powder, and salt together. (Make sure they’re sifted well!) Set aside.
- Using a hand mixer or a stand mixer fitted with whisk attachment, beat the eggs for 5 minutes on high speed. They will be light and very fluffy. On medium speed, beat in the granulated sugar, brown sugar, oil, buttermilk, vinegar, food coloring, and vanilla until combined. Stop the mixer, pour in the sifted dry ingredients, then beat on low until the batter is completely combined. It will be a ruby red color.
- Spread batter evenly into prepared pan. Give the pan a shake to make sure the batter is level and reaches the corners. Bake for 17 minutes or until the cake springs back when you poke it with a finger.
- Meanwhile, lay a thin kitchen towel flat on the counter. Sprinkle with 1 cup of confectioners’ sugar. Once the cake comes out of the oven, immediately invert it onto the towel. Peel off the parchment paper then, starting with the narrow end, begin rolling the cake up with the towel. Do this slowly and gently. The cake will be warm as it just came out of the oven.
- Allow the cake to cool completely rolled up in the towel. I stick mine in the refrigerator for about 2 hours to speed it up.
- Remove the cake roll from the refrigerator and allow to sit on the counter for a few minutes to warm up as you prepare the frosting.
- In a large bowl using a handheld or stand mixer fitted with a paddle or whisk attachment, beat the cream cheese for 1 minute on high speed until completely smooth and creamy. Beat in the butter until combined. Add the confectioners’ sugar and vanilla and beat on medium-high speed until combined and creamy.
- Gently and slowly unroll the cake. Flatten it out and spread frosting evenly on top, leaving about a 1/2 inch border around the cake. Gently and slowly roll the cake back up, without the towel this time. Make sure you’re rolling it tightly. Some frosting may spill out the sides, that’s ok!
- Loosely cover with plastic wrap and refrigerate for at least 20 minutes (and up to 1 day, covered) before slicing and serving. Dust with more confectioners’ sugar, if desired.
Frequently Asked Questions
Can I make this cake roll without food coloring?
Yes, but the cake will be brownish instead of red due to the cocoa powder. The flavor will still be classic red velvet, just without the striking color. If you prefer a red hue, stick with the liquid food coloring.
Can I freeze a red velvet cake roll?
Yes. Wrap it tightly in plastic wrap and then foil. It keeps for up to 2 months in the freezer. Thaw it in the refrigerator overnight before serving. The texture and frosting remain soft and creamy.
What should I do if my cake cracks when I roll it?
Cracks usually happen when the cake has cooled too much. Next time, roll it immediately after it comes out of the oven. If it happens, you can still frost and roll it—a few cracks won’t affect the taste and add character.
Can I use a different frosting instead of cream cheese?
Absolutely. Mascarpone frosting, Swiss meringue buttercream, or whipped cream frosting all work well. Just make sure your frosting is thick enough to spread without tearing the delicate cake.
How do I get clean, neat slices?
Use a sharp serrated knife and dip it in hot water, then wipe it dry between each cut. This prevents the knife from dragging through the frosting and helps you achieve clean slices.
How far in advance can I make this?
You can make it up to 1 day ahead. Frost and roll it, then cover with plastic wrap and refrigerate. This actually helps the flavors meld together nicely.






Leave a Reply